Creating an EDI profile
To create an EDI profile, use Create New from the shortcut sidebar on the Build page.
Steps
-
On the Build page, click Create New from the shortcut sidebar. The Create Component dialog opens.
-
For Type, select "EDI Profile".
-
Choose the standard for the profile: X12, EDIFACT, HL7, ODETTE, TRADACOMS, or User Defined (Custom).
-
Click Create.
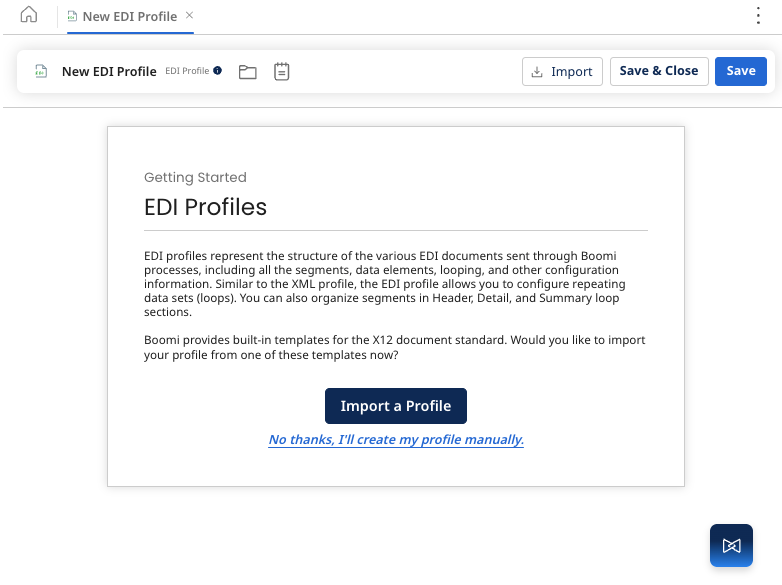
-
Enter a name for the profile.
-
By default, the profile component is created in the root folder. Click the folder icon to view the Folder Details dialog. You can copy the current folder path. Click Show Location to open the current location in Component Explorer.
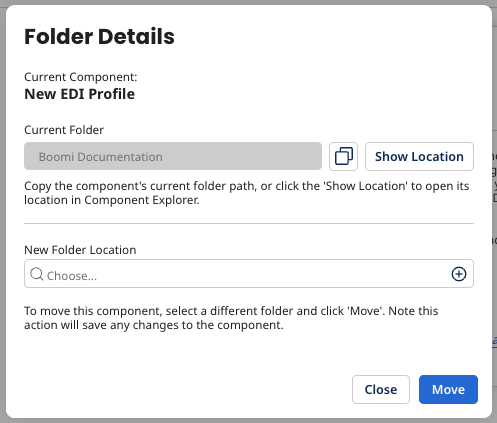
To move the profile component, choose the folder from the New Folder Location chooser, and then click Move.
noteMoving a component saves any changes to the component.
-
Import a Profile from one of Boomi's built-in templates or create the profile manually.
If you import a profile, select a Version and Transmissions, then click Next.
Result
The profile is created and is open to the Data Elements tab.
Next steps
- Configuring standard and file options - Select the delimiters and the version for your standard
